Tesla Wall Connector Installation in The Woodlands
Gen 3 units mounted and hardwired for homes across The Woodlands and along the Woodlands Parkway corridor, set to the amperage your panel actually supports.
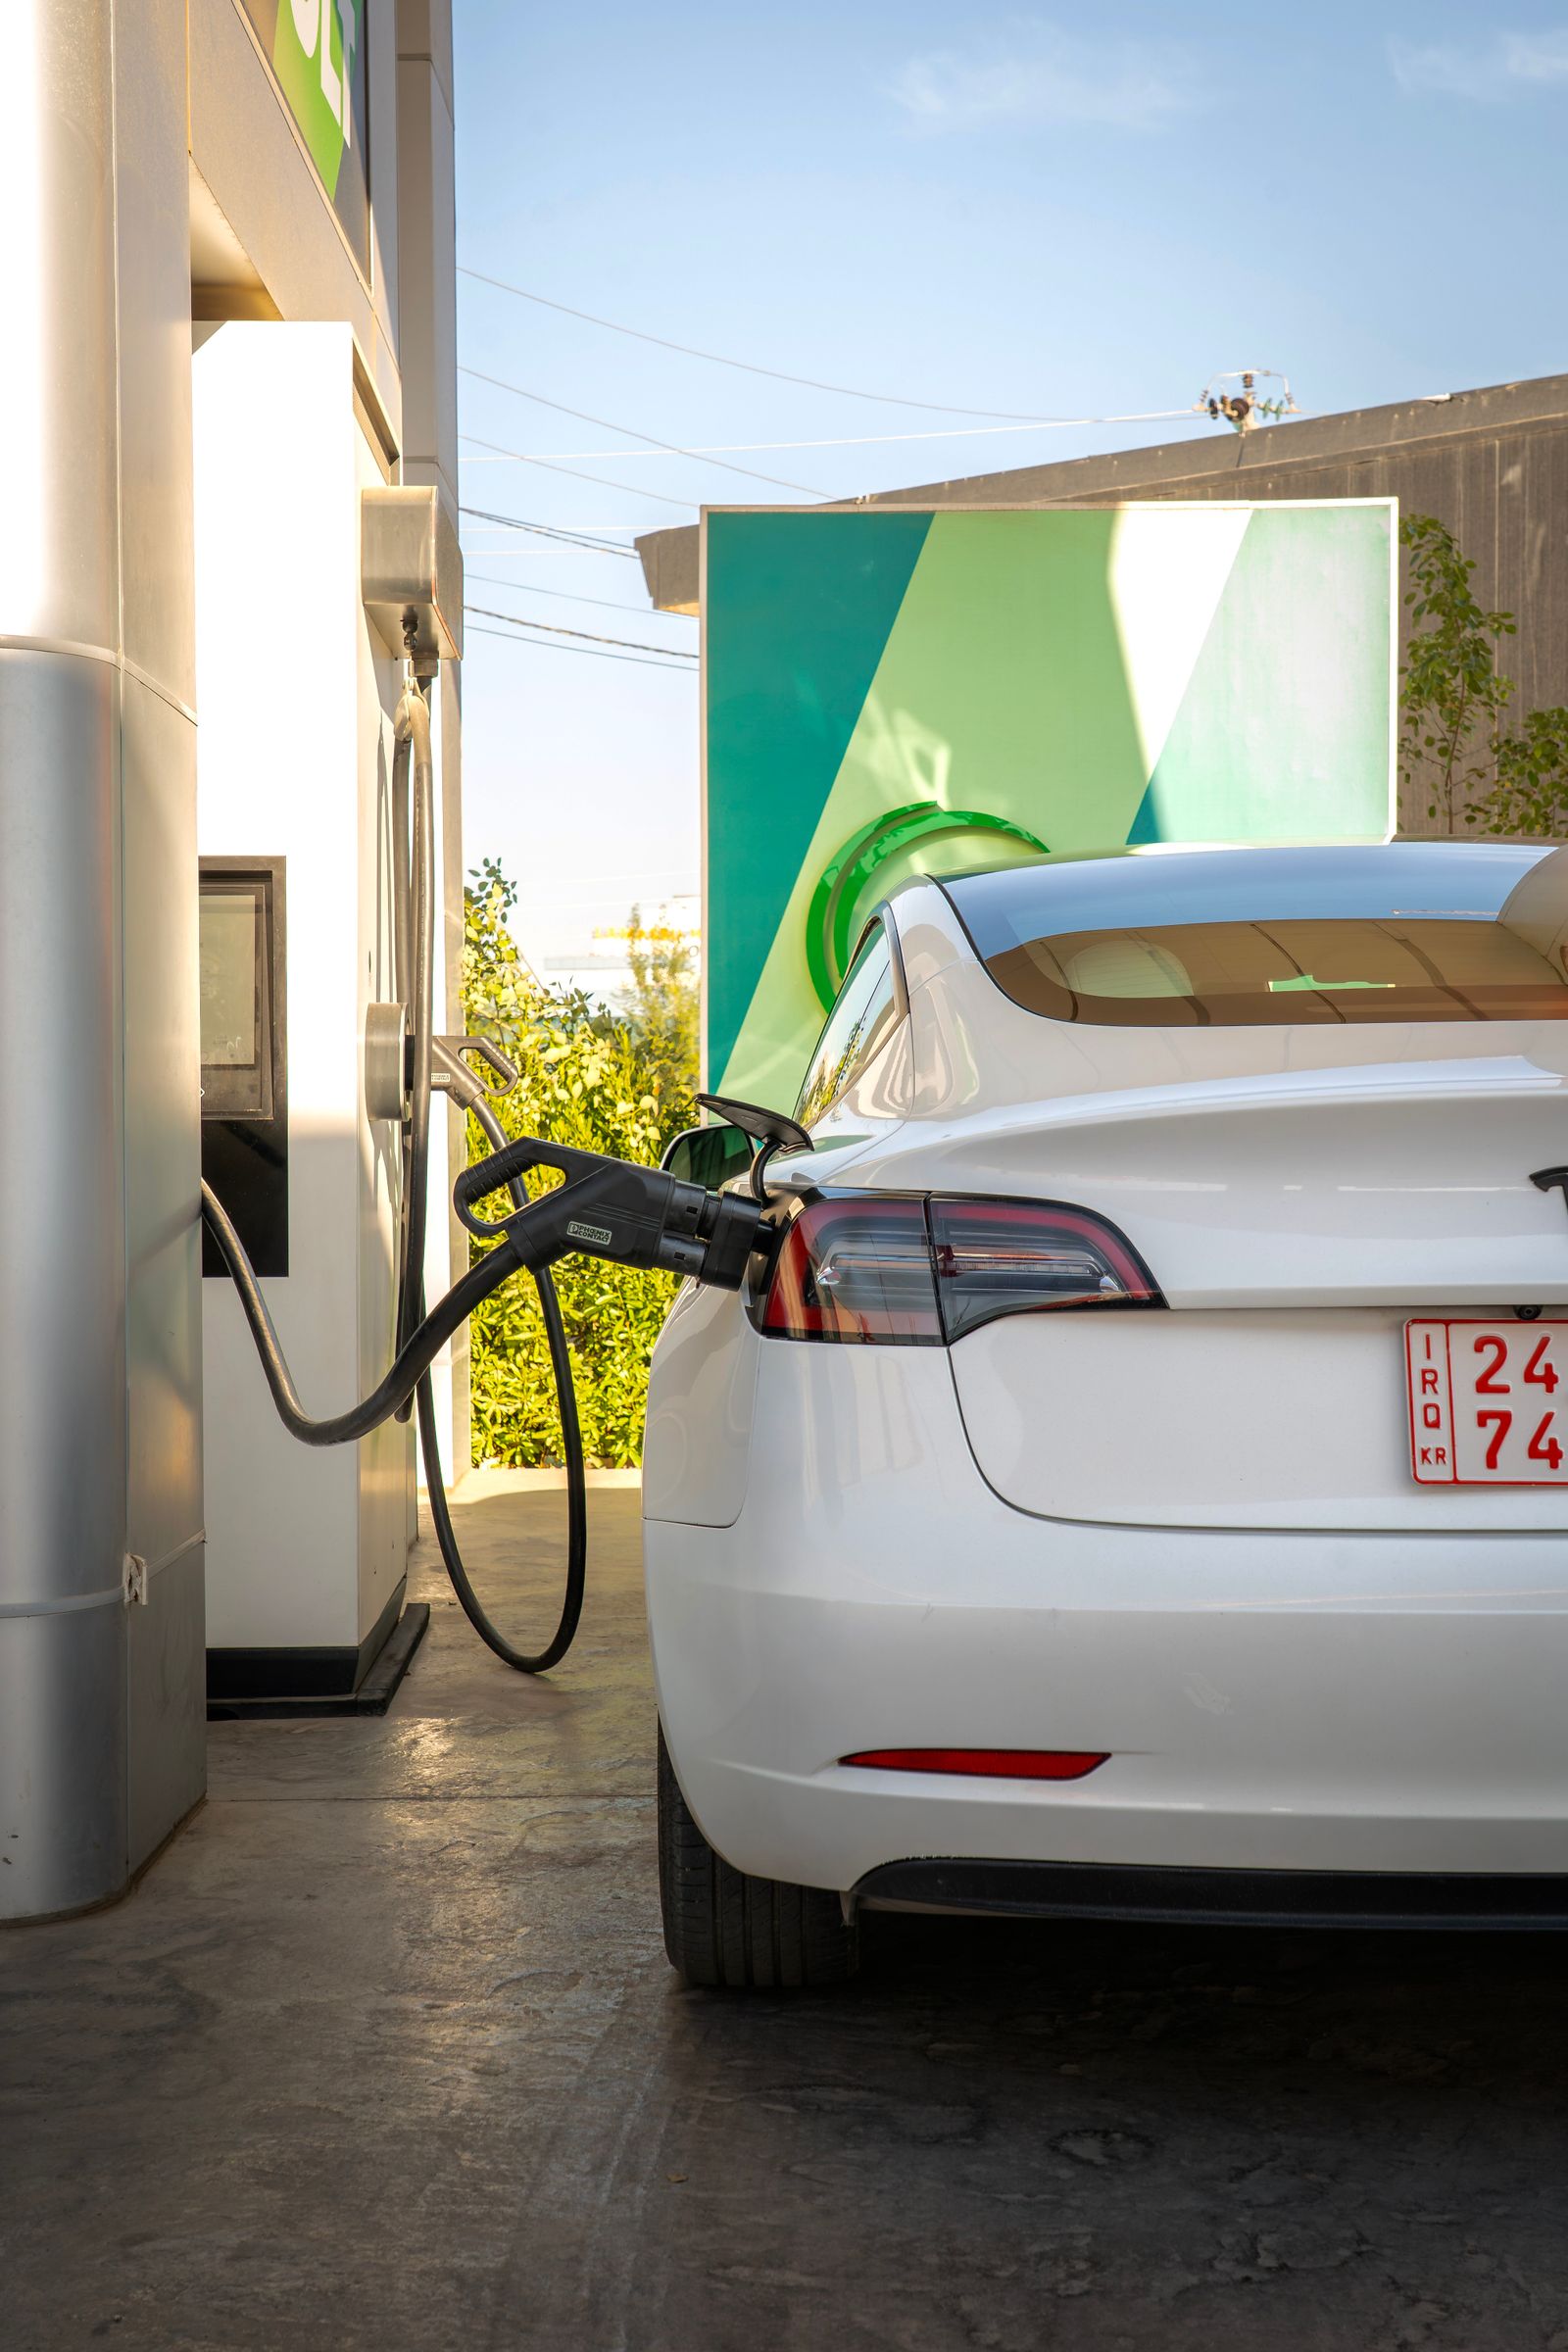
The Wall Connector, Wired the Way Tesla Specifies
Tesla Wall Connector installation is the single most requested job we take in The Woodlands, largely because the unit is good and the delivery timelines are short. The Gen 3 Wall Connector is designed to be hardwired, it has an adjustable output that must be set to match the circuit it is on, and it expects a Wi-Fi connection for firmware and diagnostics. The Woodlands EV Charger Installation handles all three steps as one visit. Most owners call us the week the VIN is assigned, which gives us comfortable room to run the circuit before delivery day. The visit itself typically runs four to six hours for a garage mount close to the panel, longer if the unit is going on an exterior wall or across the house.
What a Wall Connector Install Covers
Everything below is standard on a Tesla Wall Connector job, and anything beyond it is quoted before the work starts.
Load calculation against your existing service
The Gen 3 unit can be configured anywhere from 15 to 48 amps, and the configuration we choose comes from what your panel supports rather than from the maximum the unit allows.
Hardwired connection direct to the panel
The Wall Connector is designed for a permanent connection, so there is no plug, no receptacle, and no cord cap to loosen under the heat of a long charging session.
A correctly sized two-pole breaker
A 48-amp configuration requires a 60-amp circuit and 6 AWG copper; a 40-amp configuration takes a 50-amp breaker. We install the pairing your service permits and label the breaker clearly.
Conduit or in-wall routing to the mount point
Garage runs are made in straight, secured raceway; finished-wall routes are fished where framing allows. We confirm the path with you before anything is cut.
Mounting height and cable-reach verification
We check that the 24-foot cable reaches your car's port from where it actually parks, including nose-in versus backed-in, before fixing the bracket.
Flush or surface mounting as the wall requires
Drywall, brick, and fiber cement all get the appropriate fastener and backing, and exterior mounts get the penetration sealed properly against Gulf Coast humidity.
Output configuration to the installed circuit
We set the unit's current limit to the circuit rating during commissioning, which is the step most often skipped and the reason some units charge slower than their owners expect.
Wi-Fi commissioning and firmware update
The connector is joined to your network, updated to current firmware, and confirmed as reachable so future updates arrive on their own.
Live charging verification
We start a real session and confirm the delivered amperage before leaving, then show you where to read charging speed in the vehicle and the app.
Permit filing, inspection, and documentation
Where a permit applies we file and coordinate it, and you receive the itemized invoice and licensed-contractor record that incentive programs ask for.
From VIN to First Charge in Three Steps
- 01
Tell us the panel and the parking
We ask for the home's build year, the main breaker rating, where the panel is, and where the car will sit. Those four answers determine whether 48 amps is realistic or whether 32 or 40 is the sensible configuration. Most of the time we can give you a reliable price range on that call alone, and a site visit is free if the situation needs eyes on it.
- 02
Flat quote and a held date
You get one written number covering the breaker, the conductors, the run, the mount, commissioning, and the permit. If your service needs an upgrade to reach the configuration you want, that appears as a separate line with its own price so the decision stays yours. We hold an install date only after you have approved that number.
- 03
Install, configure, verify
On the day, we de-energize at the main, land the new circuit, mount and terminate the connector, restore power, and set the current limit to match. Then the unit goes on your Wi-Fi, firmware updates run, and we start a live session to confirm the car is drawing what it should. You get a short walkthrough of the app and the paperwork before we leave.
Why Owners Call Us for Wall Connectors
We configure the unit, not just mount it
A Wall Connector left at a default current setting on a smaller circuit either charges slowly or trips the breaker, and both outcomes get blamed on the hardware. Setting the output to the installed circuit takes two minutes and it is the difference between a unit that works for a decade and one that frustrates its owner every winter.
Outdoor mounts get treated like outdoor work
A lot of installs around here put the connector on an exterior garage wall, which means the penetration has to be sealed, the conduit has to be rated for sunlight, and the terminations have to tolerate humid summers. We build those installs for the weather they will actually live in.
One visit, including the network and the paperwork
Hardwiring, configuration, Wi-Fi, firmware, verification, permit, and documentation all happen in the same appointment. There is no second trip for commissioning and no handoff to someone else for the inspection.
- TECL-Licensed & Insured
- Flat-Rate Written Pricing
- Manufacturer-Spec Installation
- EVITP-Certified Installers
Get the Wall Connector On the Wall Before Delivery
Delivery dates move forward more often than they move back, and a charger that is already energized makes that a non-event. Give us the VIN week and we will work backward from it.
(281) 789-1750Reserve your install date: (281) 789-1750